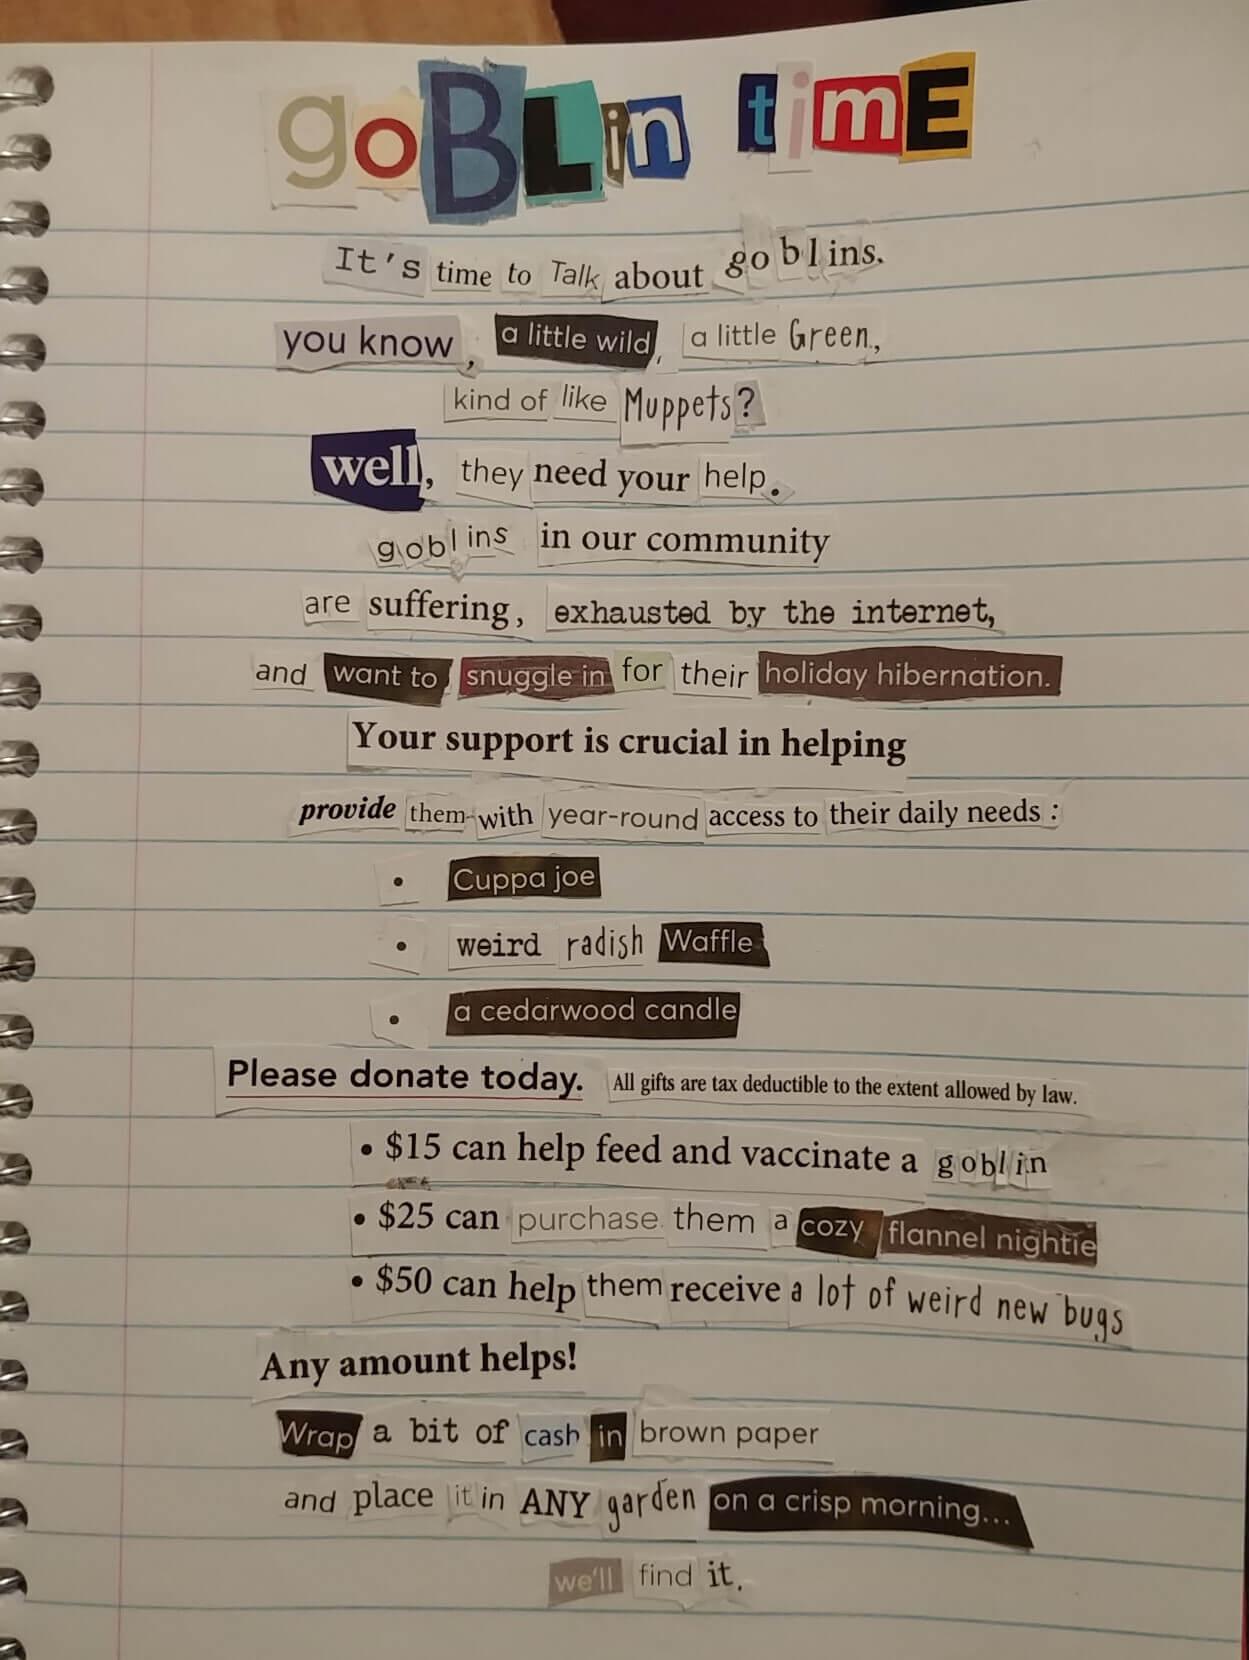
I probably won't manage to make anything new for #goblinWeek this year but I will take the opportunity to share the collage poem I made last year, since it is still one of my favorite things I've made
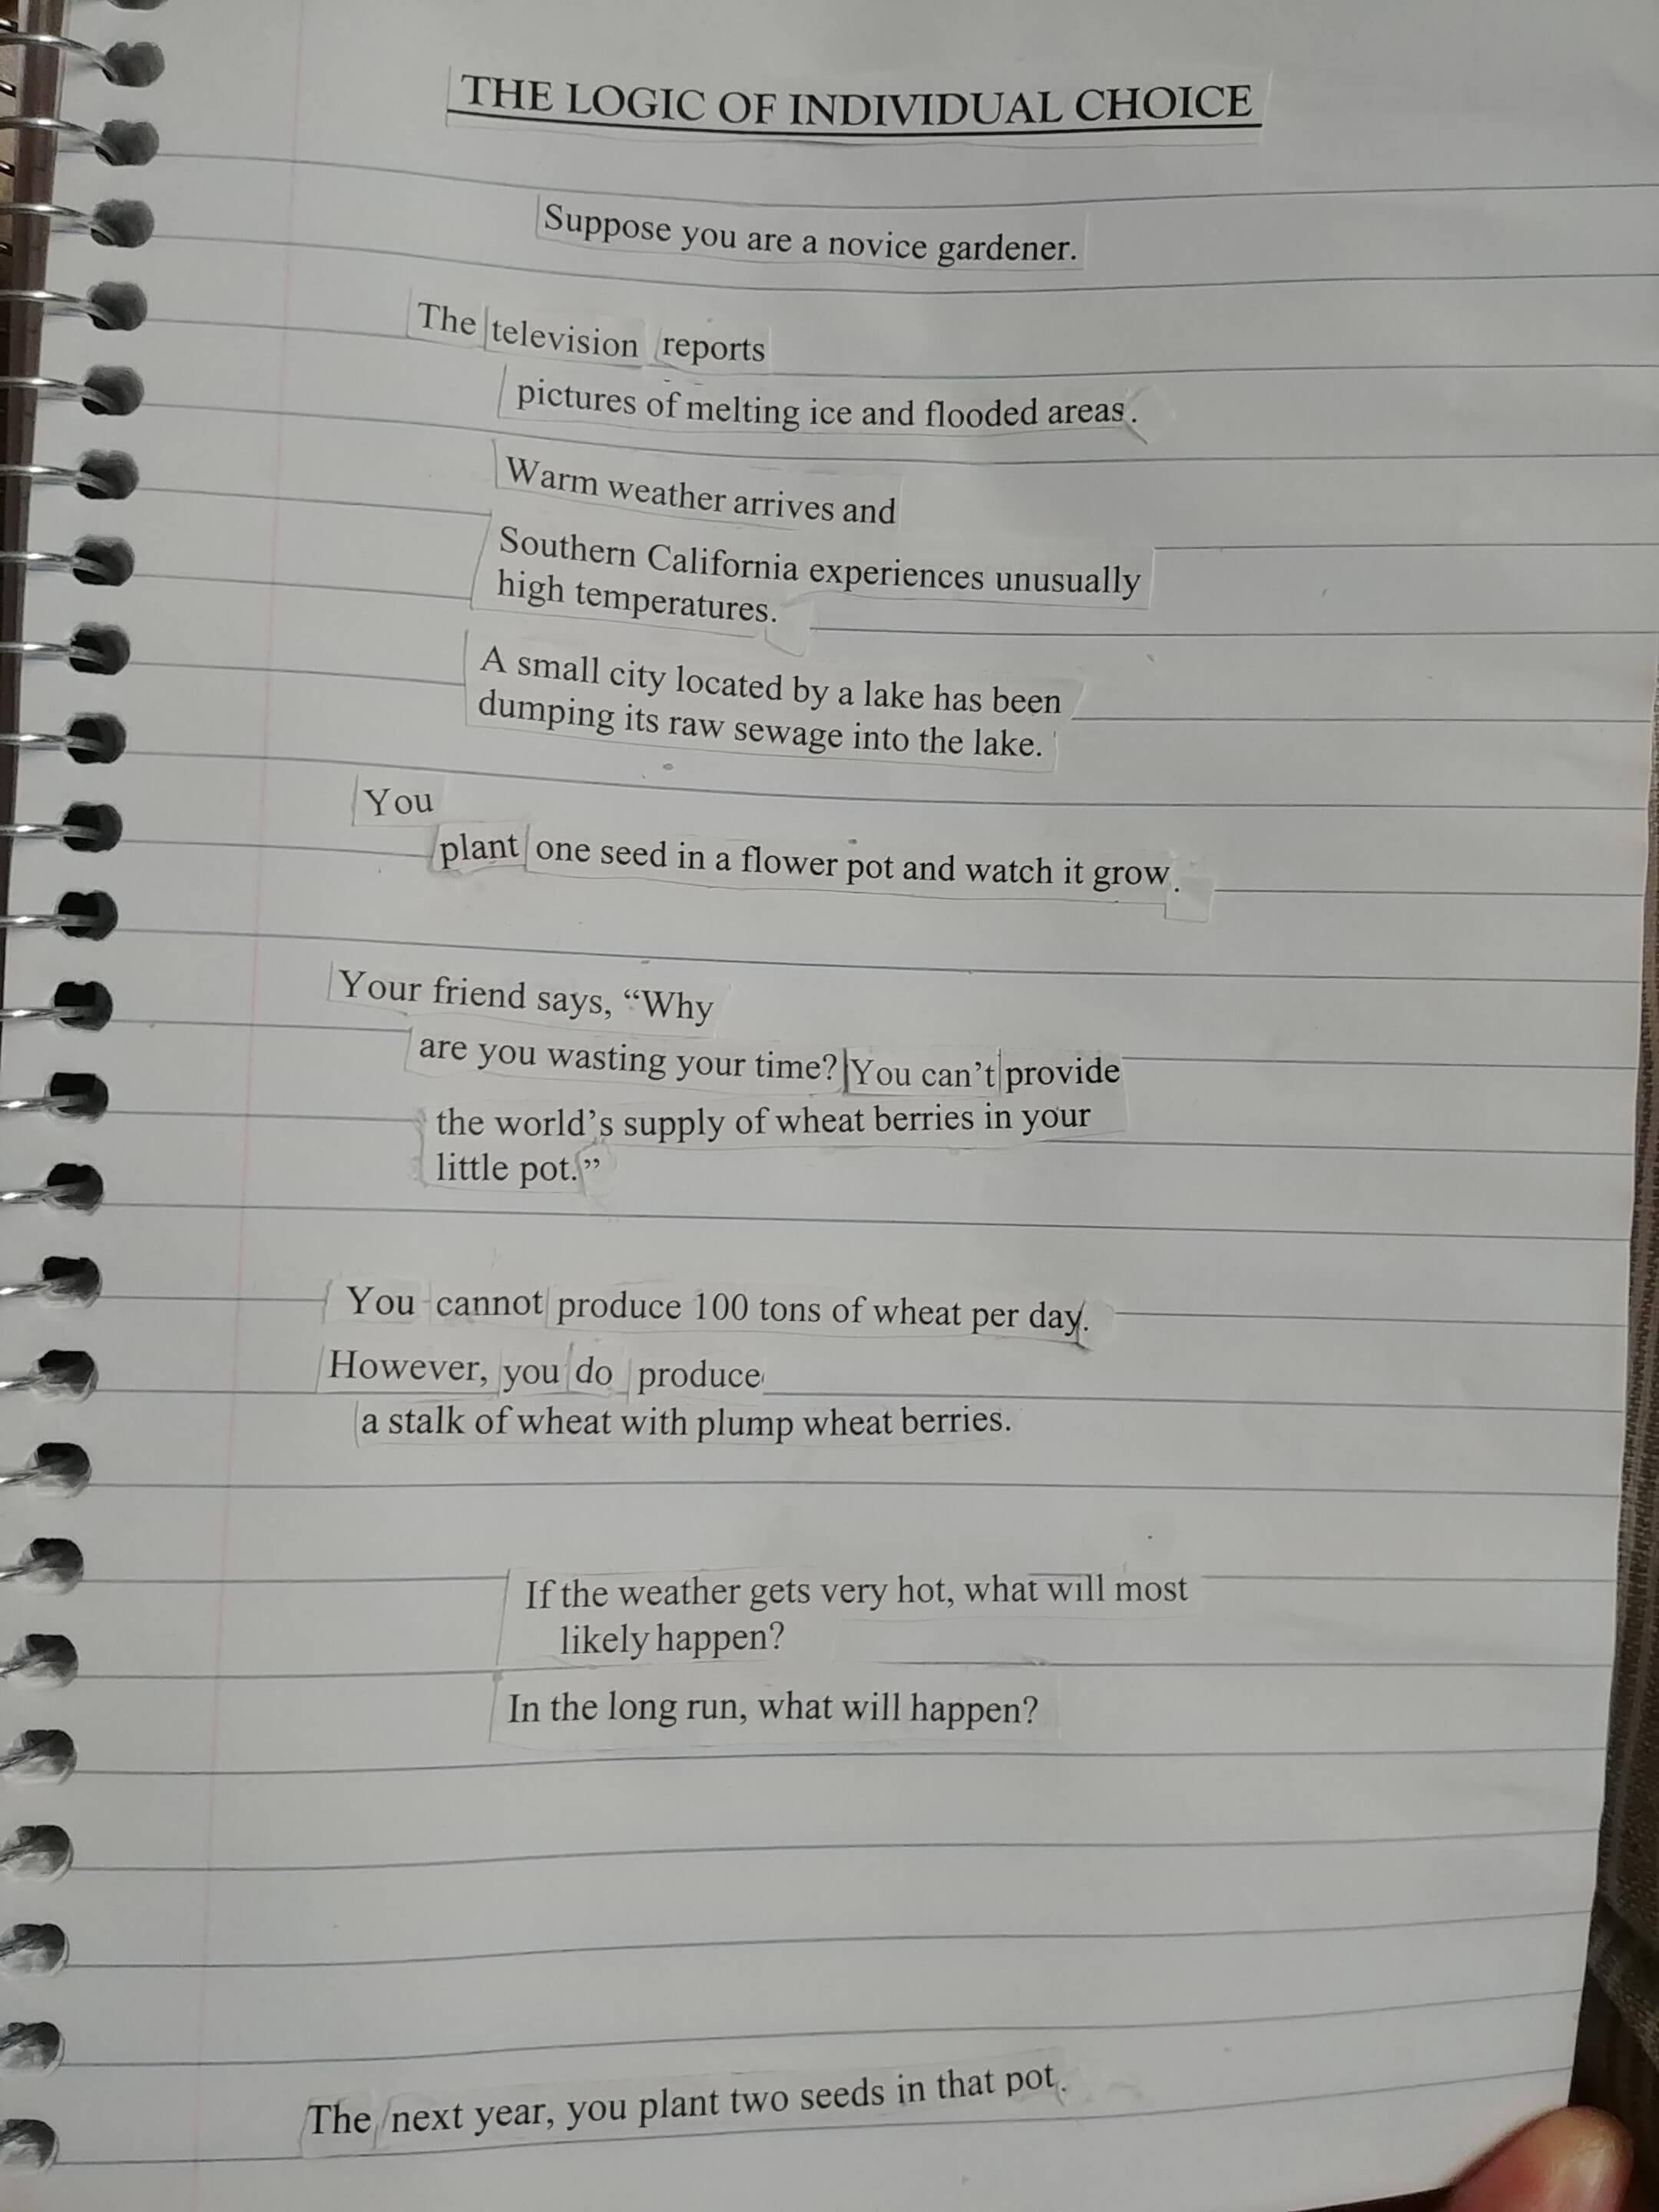
New #collage #poem, about climate change and planting seeds.
This is the second poem I've made by collaging together bits of text from an old econ workbook. (I'm planning to put them all together in a zine when I've completed a few more.)
The first poem, A Bad Dream, can be found here: https://emmajuettner.com/posts/a-bad-dream/
New #introduction now that I've set up my own server— hello, I'm Emma! (previously @emmajuettner@mastodon.art; I'll be migrating my follows over to this new account shortly)
I tend to post about knitting, making collage poems, cooking, creating generative art, mending clothing, tinkering with HTML & CSS, and reading sci-fi stories.
I don’t know what the metrics are a scrub jay uses for judging a nut besides weight but they must be very complex. This guy gets paralyzed with indecision and shows me each one and we discuss it and try to make a good and informed decision 😂
OH NO! CARMEN SANDIEGO HAS STOLEN YOUR pronouns!
Hey fediverse, I'd like to become more active in something that is more meaningful than building webshops. Since I'm quite good with #computers I'm looking for stuff that combines #computing with #sustainability or #ecology, #restoration etc.
But I don't know what's out there and am not sure what exactly to look for, so I'm hoping for some fediverse magic.
Anything you have, articles, projects, etc. Would be cool if you boosted for reach.
The beginnings of a #NaNoGenMo entry...
For my first night of making a blog post every day in November, I wrote about the experience of having #dyscalculia, and at the very end, talk about how that relates to knitting and the trick I do to count more accurately.
I spent a bit of time today recovering from the weekend and clearing out my mending pile. This bag from Market Basket had some places where the panels were pulling apart from each other and the binding was falling off. I pulled off the crummy binding and replaced it with some nylon webbing, and ta-da, bag is useful again.
From a purely capitalist perspective, this is a terrible use of time, right? I could just buy a new bag from MB for, like, what, $5? $10? And I could have used that time in Economically Productive Pursuits to Increase The GDP, and someone in an exploited country could have made another one and shipped it across the ocean, and in a couple years that binding would rip and I’d buy a new one and we’d just keep doing that dance until the heat death of the universe.
Or I could spend the time and effort to keep it out of a landfill for a little longer. So I did. And it’s a small thing but it’s better than nothing. Bonus: bag is now significantly gayer.
We can fix things if we take the time.
#makedoandmend #fixityourself #mending #moveslowandfixthings #sewing #visiblemending
My cat is really not very smart as you can see by how easily she was taken in by the French Defense.
food
food
New blog post: I challenged myself to that Taskmaster task where they had to cook a meal using an ingredient for each letter of the alphabet
Working so small is an interesting (and hand-cramping) challenge.
One sock done. #knitting #operationsockdrawer #handknitsocks #colorworkknitting #colorworksocks
Added a new page on my website for collecting links to one of my favorite genres of blog post: accounts of funny or bizarre real-life technical investigations. Posts like "The Wi-Fi only works when it's raining" or "When you browse Instagram and find former Australian Prime Minister Tony Abbott's passport number" (both are linked on the page). I made an RSS feed too, so I can update it whenever I come across a particularly good one.
Best practices in practice: pre-commit https://curiousity.ca/2024/best-practices-in-practice-pre-commit/ Continuing in my “best practices in practice series” : today’s tool is `pre-commit`. Using pre-commit takes a bunch of failure points out of our code quality and security process, and I highly recommend it. … #BestPractices #BestPracticesInPractice #infosec #OpenSource #review
Important news!
Edit: https://archive.is/https://www.nbcnews.com/all-in/live-blog/safdsg-rcna167697
(ty @faoluin)
#looptober starts in a few days! Spread the word!
I’ve written before about sewing, and dressmaking, and why I make my own clothes. But before most of us – if we’re going to – first get to grips with a sewing machine, we often have a go at hand-sewing repairs, usually out of necessity. Things have a way of breaking and failing at the most inconvenient times, and usually we only have the clothes we’re standing up in: perhaps we’re at work, or on holiday, and an important button has fallen off, or we’ve caught the sleeve of our waterproof jacket on a barbed-wire fence. Or perhaps a favourite pair of jeans that we can’t bear to part with has gone through somewhere from love and wear.
I think a lot of people have frustrating experiences with their first attempts at clothing repair (I certainly did) and give up, which is completely understandable. You’ve spent time doing something that felt difficult and fiddly, and you followed the instructions, only to find the “Iron On – NO SEWING REQUIRED!” patch falls off the knee of your jeans almost before you even put it in the wash the first time. The problem often isn’t one of skill – though it’s easy, when you’re just starting out, to assume these things are your fault. Unless you’re very stubborn, or very patient, and eventually work things out for yourself, or you’re lucky enough to have an experienced repairer to ask, it’s easy to conclude that the time and effort of trying to repair clothing isn’t worth it when you consider the results.
One of the things that isn’t obvious, perhaps, when you’re new to this, is that there are actually very different categories of clothing repair – the three examples in the first paragraph are each very distinct problems, with different complexities, that require different approaches, different degrees of effort and skill, and with different chances of reasonable success. In my head, I sort clothing repair tasks into three rough categories: ‘missing stitches’, ‘accidental holes’, and ‘wear and tear’.
Missing stitch repairs – where sewing thread has come away but the underlying fabrics are intact – are some of the easiest and most predictable, and if done right, are likely to put you back exactly where you were before the stitches gave way. I am *not* on board with Marie Kondo’s view that any garment with minor damage like missing buttons just needs flinging in the bin! Depending on your skill with a needle, availability of colour-matching thread (and whether you have access to a sewing machine), the cosmetic appearance may not be exactly what it was before, but it should basically always be possible to re-attach a fallen button, re-bind a frayed button-hole, turn back up a fallen hem, or repair a seam whose stitching has unravelled, and have a garment that you can continue to wear as if nothing had happened. Just try to put back what was there in the first place (you may need to overcast by hand or use a machine zig-zag stitch to replace an overlocked seam finish) and the job’s a good ‘un.
My top tip, by the way: Any time that you haven’t got a perfectly colour-matched thread (which is nearly always) prioritise matching the dark/light tone of the fabric rather than the colour. For a lot of fabrics (and particularly mixed-colour patterns), a shade of grey, or of an adjacent colour (blue, on a mostly-green fabric for example) which is near to the same tone as the fabric will disappear a lot more effectively than thread the ‘right’ colour which is visibly too dark or light. Keep the stitches small, and if it’s an asymmetric stitch like a slip-stitch, keep the side that comes to the front of the fabric as small as possible.
Accidental holes are next-easiest, generally, and possibly the most satisfying. These could be rips or snags, or moth damage in woolens. The important thing is that they haven’t happened in an area where wear has previously weakened the fabric or seam (or, if you happen accidentally to have damaged a brand new garment, in places where wear is going to occur – we’re talking about knees, elbows, armpits and crotches here, primarily).
I love repairing these! The bad news is you’re very unlikely to get an invisible repair, unless the hole is very small and your darning / stitching skills are very fine. The good news is, if you choose the right technique, the repair is likely to be really solid and long-lasting, and even better, you can be really creative here with visible repair approaches.
Some fabrics – technical waterproof fabrics, for example – will require specific approaches (talk to your local outdoor goods store, who probably have patching kits for most fabrics). Otherwise, the world is your oyster! Patch, darn, embroider, and needle-felt these to your heart’s content! A hidden patch of fabric or interfacing on the back / inside of the fabric can help stabilise the repair – especially useful if you’re planning to use embroidery as your main technique. Haberdasheries and online stores have thousands of options for cute, decorative, funny, and personalised patches. And when you’re done, your repaired garment will not only be functionally as good as new, it will be a unique and personal reflection of its wearer. Really, what more could you want?
A few shortcuts for using patches for these sorts of repairs:
- Try to match any patch fabric to the weight, and stretch, and grain direction of the material you’re repairing.
- Stretch is always going to be a problem, the more stretch the trickier, because any repair that doesn’t stretch exactly the same is going to introduce strain (any stretch really is also going to be a reason to avoid iron-on patches, if possible).
- Patching works best on flat pieces of fabrics without seams or darts. Not to say you can never patch over a seam but… understand that your results may vary.
- As for iron-on patches – this is the thing they’re good for! However – even somewhere nice and flat and not-stretchy, you probably want to slip-stitch the edges down, because with washing and wearing they’ll start to come loose eventually.
When it comes to wear and tear repairs, they’re an entirely different thing.
For a start: any wear-and-tear repair must, by definition, be an act of love. First, because you’ve loved (or at least worn) the garment enough to wear it out. But mostly, because managing to achieve a repair on a wear-and-tear failure that lasts more than a few more wears is going to take a significant investment of time and care and skill, and so, really, is only worth attempting on a garment that you (or the garment’s owner) loves so much that letting it go is inconceivable.
Time really is of the essence here. If this is garment you want to keep, repair or reinforce it at the first sign of damage, don’t wait until the point of catastrophic failure, and allow the fabric to rip, or you’ve made a much bigger and more difficult job for yourself (something I remind myself of loudly every time a beloved pair of jeans makes that awful fabric-letting-go noise). Earlier repairs will not just be smaller and easier, but if they’re done properly, reinforcing repairs will keep your clothes going much longer than any repair you do after a major failure.
But you didn’t (good intentions and all that), and now there’s a big rip somewhere really inconvenient.
My advice is this: consider major surgery. If the garment is constructed in such a way that you have the skills and equipment to take seams apart, replace a large area of fabric (even a whole original pattern piece, using the damaged piece as a template), and put it back together again, do that. It might sound drastic, but it will take less time and work better, in the long term, than the alternatives. Be brave, and start taking that garment apart!
Otherwise, we’re patching – but forget prioritising a pretty result: this is structural engineering, before anything else. Plan for your repair to extend *really wide* around the tear. Three or four inches outside the edge of any visible damage, if at all possible. You’re trying to match the strength of the original fabric, without introducing new areas of tension which will lead to new areas of damaging wear. Layers are probably the answer. Sandwiching the damaged area between patches on the inside and outside can be very effective. I haven’t developed good sashiko skills (the header photo isn’t my work), but using multiple layers of lighter fabric, stitched together, for these sorts of repairs has great potential for adding strength without excess tension (and makes layering further repairs onto the area in future considerably easier). Whatever you use you will need to stitch, in addition to any interfacing or fusible adhesive you use. Stitch around the edge. Stitch across the centre. Stitch along the edges of the tear. Stitch backwards and forwards across the whole repair. And then add some more stitching, just for luck.
Congratulations! It’s taken ages, but your precious, much loved garment is ready to serve you once again!
You’re not done, of course. The fabric, even after all your efforts, will always be weaker, and your repair will always be vulnerable. You will have to take special care of this garment now – both when wearing it, and when washing it. Inspect the condition of the repair regularly, inside and out, and immediately take steps to restore any areas of lost stitching or new evidence of wear and weakness; what has failed once will fail faster, and more completely, if strained beyond its limits again.
This is not really about clothing repair (though the advice, I hope, will serve someone usefully).
We seem to have forgotten that healing, like repair, is not a single thing but instead is made up of a multitude of moving parts, of stitches and scar tissue, dependent on the right conditions, of protection of the healing wound from the hazards of the environment, of prevention of too-early or excessive strain. That recovery is a process, not an event.
The notion that we are sick, until medicine puts us right, after which we are well again, is, like so many little thinking shortcuts, simplistic, deterministic, and profoundly unhelpful. We seem, as a culture, to have forgotten about convalescence altogether. We have lost our grip on a thing that we used to know, that recovery is not always possible, that when it is it can require long stretches of time, and be incomplete. That injured bodies, and damaged minds, as likely as not will never be what they once were. That they will always require more attention and care, and maintenance than intact ones. That they need to be extended grace and love, beyond what the world at large is inclined to offer, or what we ourselves often feel comfortable asking from it.
We will all, sooner or later, need time to mend.
Lore and Ordure is a digital busking project supporting my PhD studies –
if you enjoy what I’m doing here, please throw some money in the hat!
This blog only exists thanks to the generous support of my readers, so, thank you!
Your tips and donations support my weekly writing here and contribute towards my PhD expenses.
Please subscribe via email & share my work with others who might enjoy it.
You can make both one-off and recurring donations on my Ko-Fi page.
[The header image is a modified version of ‘sashiko stitch and patch’ by Flickr user ‘Heather’. The original image is licensed under the Creative Commons CC:by licence. The original file can be found here.]
https://loreandordure.com/2024/09/10/fraying-at-the-edges-about-repair-recovery/
When your to-do list includes both academic writing and sidewalk repair:
"I need to work on the abstract and the concrete."
A friend is raising money to help a Black trans person manage their chronic illness. I know they'd really appreciate any donations: